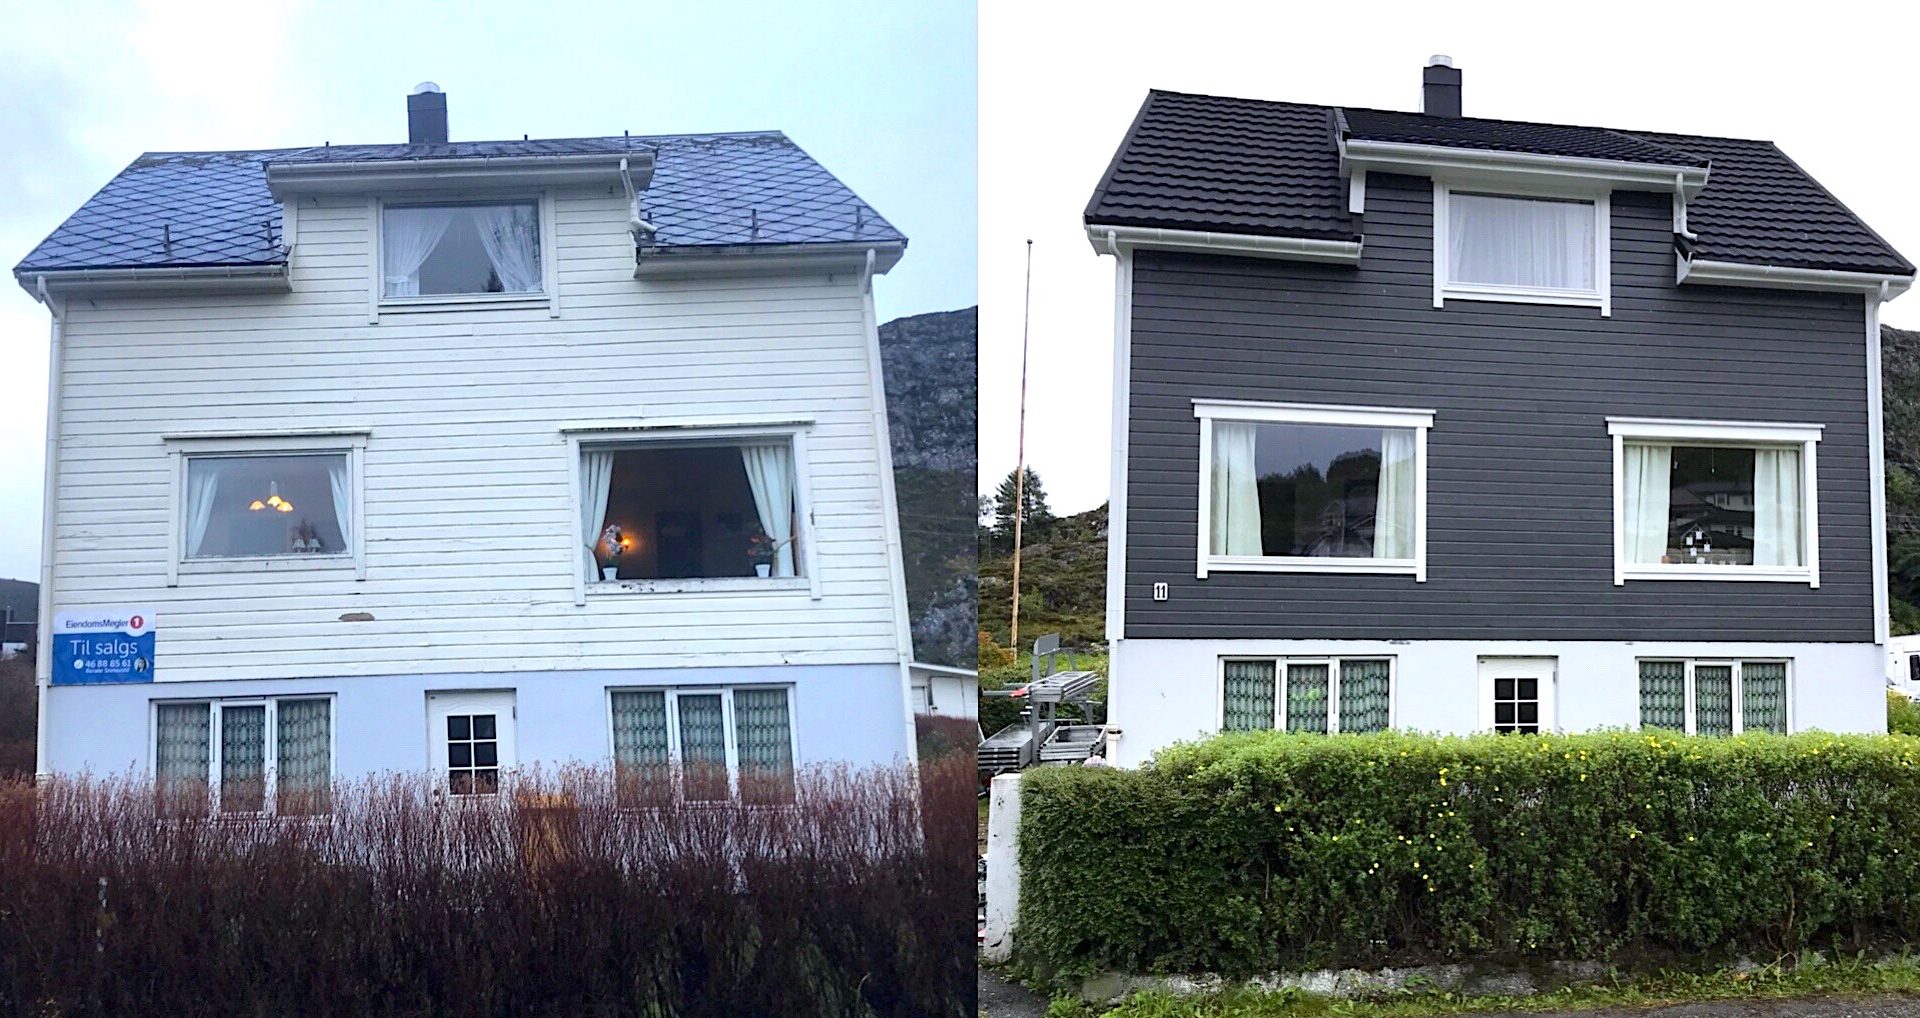
The first project we did after we bought our house was to change the roof! All alone, with no help at all! What were we thinking!? Well, we managed it and are pretty damn happy with the result. We got the keys to the house and moved in. 4 days later we were building scaffolding. And on the 5th day, we started on our roof project. Now when we look back, we think we were completely crazy to start with such a big project as the very first thing. Anyhow, the new roof became perfect. And the reason why we wanted to start with the roof, was that we knew we had to do everything on this house. So the best way then is to start at the top.
In this post we’ll show you how we did it, and how you can change your own roof! But, we do recommend you to be handy and have done a few renovation projects before you jump into a changing-the-roof-project!
Preparation
Before you can start on such a big projects as changing your roof, you need to do a lot of planning. You need to measure. You need to order materials for a new roof. You need to know that you have all the tools needed for the job. And you need to take a close look on the weather forecast. Order the roof well in advanced to be sure you have it for when you plan to do the job.
Removing The Old Roof
The process of removing the old roof depends on what type of roof you have. We started out with an asbestos roof. This one desperately needed to be replaced. Which roof do you have?

We bought in all the protective equipment needed. And once the scaffolding was up, we could start removing the old asbestos roof. We did it all by our selves. And we are certain that you can do this too!

Decking Condition
Luckily for us, the condition of our decking was really good. So we could keep it, and directly start on the build up. The only thing we needed to do was to close an old ceiling window that we didn’t want to keep. If you have rotten wood, you need to change out the pieces before you continue.
Start Build Up
The first thing you need to do when you’re ready to start the build up, is to lay a underlayment. This is what makes it all water tight. Then you can lay your wooden lathing. First the laths from top to bottom. We used dimension 23 x 48 mm for c/c 600 mm. Then laths from left to right dimension 30 x 48 mm for c/c 600 mm. Check and double check that the distance you choose to use fits the type of roof your going to lay.
Laying The New Roof
You’re ready to start laying your new roof! Just follow your roofs instructions. And hang in there, you’re almost finished! For us this part was done quite fast. Our new roof was a steel tile roof. And that’s just like Lego. The type we used should be laid from the top to the bottom. You screw each tile on the top lath. But, you must always start with the second row, then place the first row. And then continue with the third, fourth, fifth and so on. When you continue laying, lift the row above and place the next tile under it before you screw both of them. The easiest is if you buy or rent an automatic machine. They are meant for this. AND makes it so much faster for you!
Finished Result
All in all we used 10 days to remove the old and lay the new roof! For totally beginners doing everything with two or three persons, we think that’s quite good! Don’t you agree? And, we were SO lucky with the weather. It was end of May. In Norway. And it was so warm! Sun or mist every day. Believe it or not, but it was almost to hot!

Anyway, here’s our after photos. Bellow we’ve also included some photos of the house after we finished painting it. For you to see the completely finished result.


We hope you liked to see our new roof project! It already feels like this was ages ago. If you have any questions please leave a comment or contact us!


