In our basement we made an apartment from basically nothing. Check out our previous posts living room reveal and bathroom reveal to see more of it!
Today we want to focus on the tiles in your bathroom. And show you how tiles can be laid in an easy 4 step guide to doing it yourself. It’s actually not difficult at all! If we can do it – so can you. Keep reading to find out more!
Measure & Prepare
Before you get your new tiles, you need to measure the bathroom to know how many m3 you need to buy. We’ll tell you how to lay both floor tiles and wall tiles today. Are you building up a whole new bathroom from scratch, and want to lay the tiles yourself? Or do you want to exchange the old tiles in your existing bathroom? Depending on what situation you’re in, the preparation part will be different.
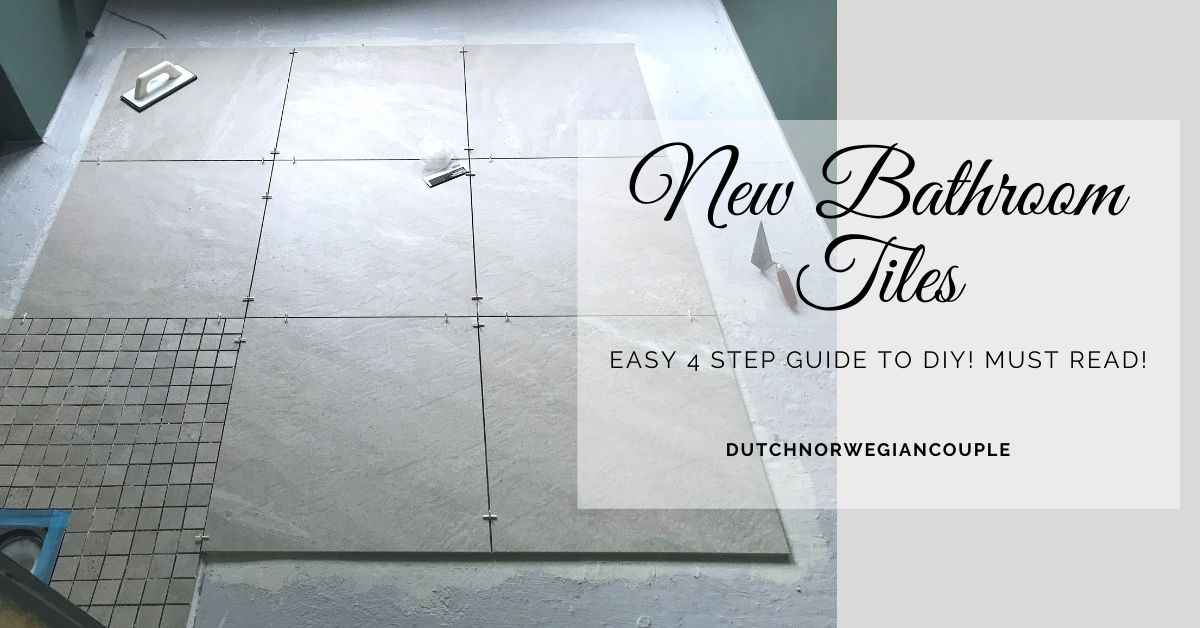
We build a bathroom from scratch. We’d already laid floor heating and poured a new concrete floor. Membrane was laid. And we were ready for laying the tiles.
If you’re changing out tiles in your existing bathroom, you first need to have a DEMO-DAY! Removing tiles is easy peasy if you have the right tools. Our tip- invite some friends over for demo-day! And make it a fun thing.
Once you’ve prepared everything, you can buy all materials and tools needed. This is what you’ll need;
Materials:
Tools:
Find Midle & Cut Edge Tiles
You need to know where the middle of your bathroom floor is. The best thing is to start here and work your way out. Check that you get more or less equal tiles on the edges of the room. And make sure it fits with your shower area.
It’s very important that you do a dry-test and puts all tiles where they should be on the floor (Without adhesive!). That way you can already cut the edge tiles and check that everything fits.

For the walls this is not possible. But, here you need to measure, measure and measure again. Make a drawing and write down what the sizes will be on the upper and lower tiles.
In wall corners, the pros say that you should have an equal size tile on both sides of the corner. It doesn’t matter what size your tiles are. We laid quite big tiles. 60×60 cm on the floor and the walls in the shower area. And smaller on the shower floor. The rest of the walls in our bathroom didn’t have tiles and we’re SO happy with that. It feels so much warmer. And gives a much more cozy atmosphere in the bathroom. One more plus: If you want to change up the impression of your bathroom it’s much easier do this with paint!

Start Laying Tiles
In our bathroom, floor tiles were laid first. Once they had sat for a day, we did the walls tiles in the shower as well. Once your tiles are cut and you have your plan ready you can start laying them.
You should start in the middle of the room where you already have made a mark. But be smart so that you end by the exit door. You really shouldn’t step on your tiles while the adhesive is still wet. That will make the ones you step on sink in a bit, and you really dont want that.
Start mixing your adhesive and start with an area as big as 2-4 tiles. That depends on how big your tiles are. You want to place the tile in the adhesive as fast as possible. Press and shake it a bit to get the tile to stick. Use spacers to get the right distance. And make sure the tiles are laying straight. Continue like this until all floor tiles are laid.
When it’s time for wall tiles, you must start with the second tile from bellow. Make sure this one are level by using a laser and piece of wood as support. After this you can continue upwards. And at last remove the piece of wood, and place the lower tiles of the wall.
Grout
Once your tiles have dried for a day, they should be dry enough for grout. Remove your spacers. Mix the grout. Depending on the type, it might harden quite fast. Check this out before you start mixing.
Start furthest away from your exit door. Apply grout and make sure the whole space between all tiles are filled up. Do small areas at the time. Wash away what is too much and on top of the tiles before it hardens. Usually this takes 15-30 minutes.
Let it dry. Dont walk on the tiles or make them wet until a day or two has passed.

And you’re finished! What do you think of our result? Are you ready to try it out yourself? Ask us anything to get started!
X P&J


