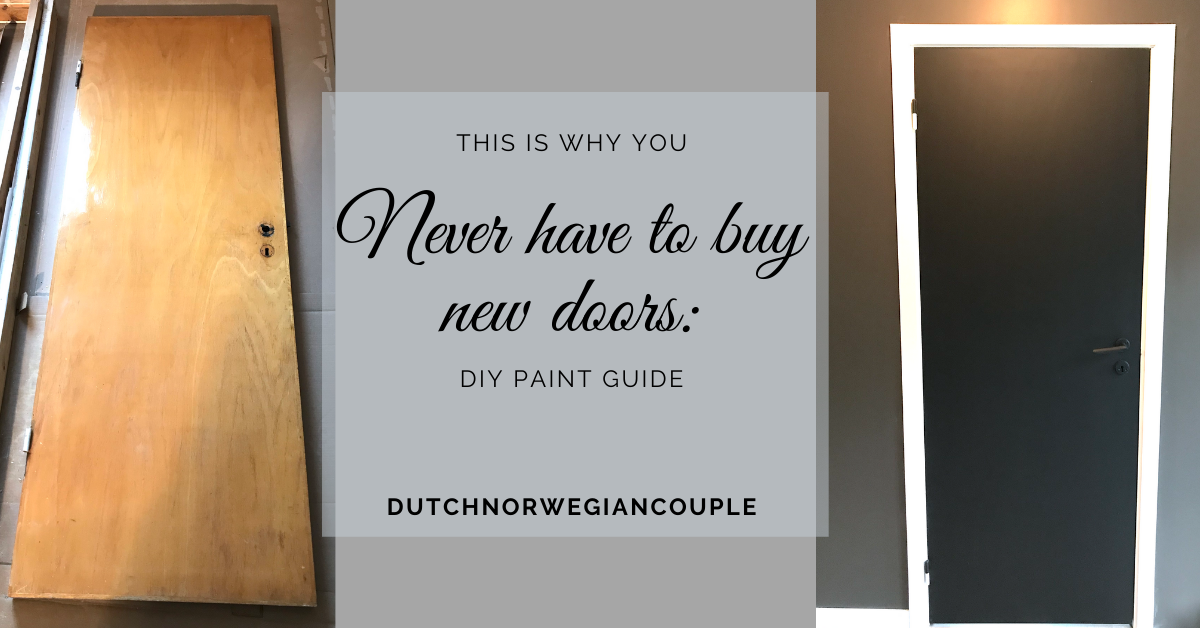
Do you enjoy painting? Everything looks beautiful after a fresh layer of paint. And we’re big fans of DIY painting projects! It’s much better to re-use what you have, than always buying new. Paint it. And it’ll look brand new! Today we’ll show you why you never should buy new doors. We’ll go through step by step how you can fix up your old doors yourself!
- Your Original Doors
- How To Sand Your Doors Down
- How To Fix Damages
- How To Prime Your Doors
- How To Paint Your Doors
- Finished Result
Your Original Doors
So, how does your original doors look like? Doors are made of wood. Wood lasts a long time. That’s why you never have to buy new doors! We had old, but in good shape doors in our house. They had a brownish wood colour. And we really wanted to have black doors throughout the whole house.
Now, are you one of those who think that you’ll have to throw these old ones in the trash? And then buy new black doors? (Which you have to pay a fortune for these days!). Well, that’s not true! If you follow this guide you’ll have beautiful new doors in no time! And with only the cost of sand-paper, primer and paint!

How To Sand Your Doors Down
Start with buying sand-paper. Use a machine to make the job with sanding your doors down easier and faster. Sanding down wooden doors or furniture is something that everyone can manage to do. Just make sure you always move the machine, and never let it be still on one spot. We actually found our doors so beautiful once they were sanded down that we seriously considered keeping them that way. But, our love for black still won! Haha.

How To Fix Damages
Does your doors have damages from being used for many years? Don’t worry! You’ll just have to make sure you fill them up before you continue on the next step.
Use wood filler or just plane drywall compound. After it has completely dried, you must sand down the holes to make sure they are even with the rest.
How To Prime Your Doors
When you’re happy with your smooth sanded down doors, you’re ready to apply primer! Use a brush or a roller to apply the primer. Use a type that are meant for wood. Like this one.
Apply primer on all the sides and the one side facing upwards as shown above. Let it dry. Once the primer is dry, turn the door around so that you can apply primer on that side as well.

How To Paint Your Doors
Before you continue on this step, you really should gently sand down your doors again. There are always some dust or similar that has gotten stuck in your primer/paint. We recommend you to always sand down between every layer of paint/primer. Once that’s done, you can start painting. Painting doors goes so fast! At least flat doors like some of ours were. The ones that had glas took a bit longer. Check out this paint for doors and windows.
Just like with the primer, you should first paint all the sides and the side facing upwards. Let it dry, turn it around and paint the other side.

The next day your doors should be ready for the second layer of paint. But, as said, make sure you sand down between every layer of paint/primer. And then you can apply the second and last layer of paint.

Finished Result
Once you’ve sanded down all your doors. Filled up holes and damages. Sanded them down again. Applied primer to all sides. Gently sanded them down again. Applied the first layer of paint. Sanded them down once again. Applied the second layer of paint. You’re done! This didn’t seem so difficult now did it? We’re sure you’ll be super happy with your result! Whatever colour you chose to paint your doors! We’ll be very happy if we can inspire you to try out painting your old doors! It breaks our hearts to see people throwing old doors away and buying all brand new ones in the colour they want. Please consider painting them first. And don’t be afraid to ask us for help!
We hope that we can make people re-use furniture and doors instead of always buying new. Buying second hand (or getting it for free) is also an option. Then you can just change it up with your own choice of colour. And suddenly you have something that nobody else has! Try it out – we promise you it’s worth it!


